How To Ride A Bike
A practical step-by-step guide to how to ride a bike, including preparation, instructions, common issues, tips, and next steps.
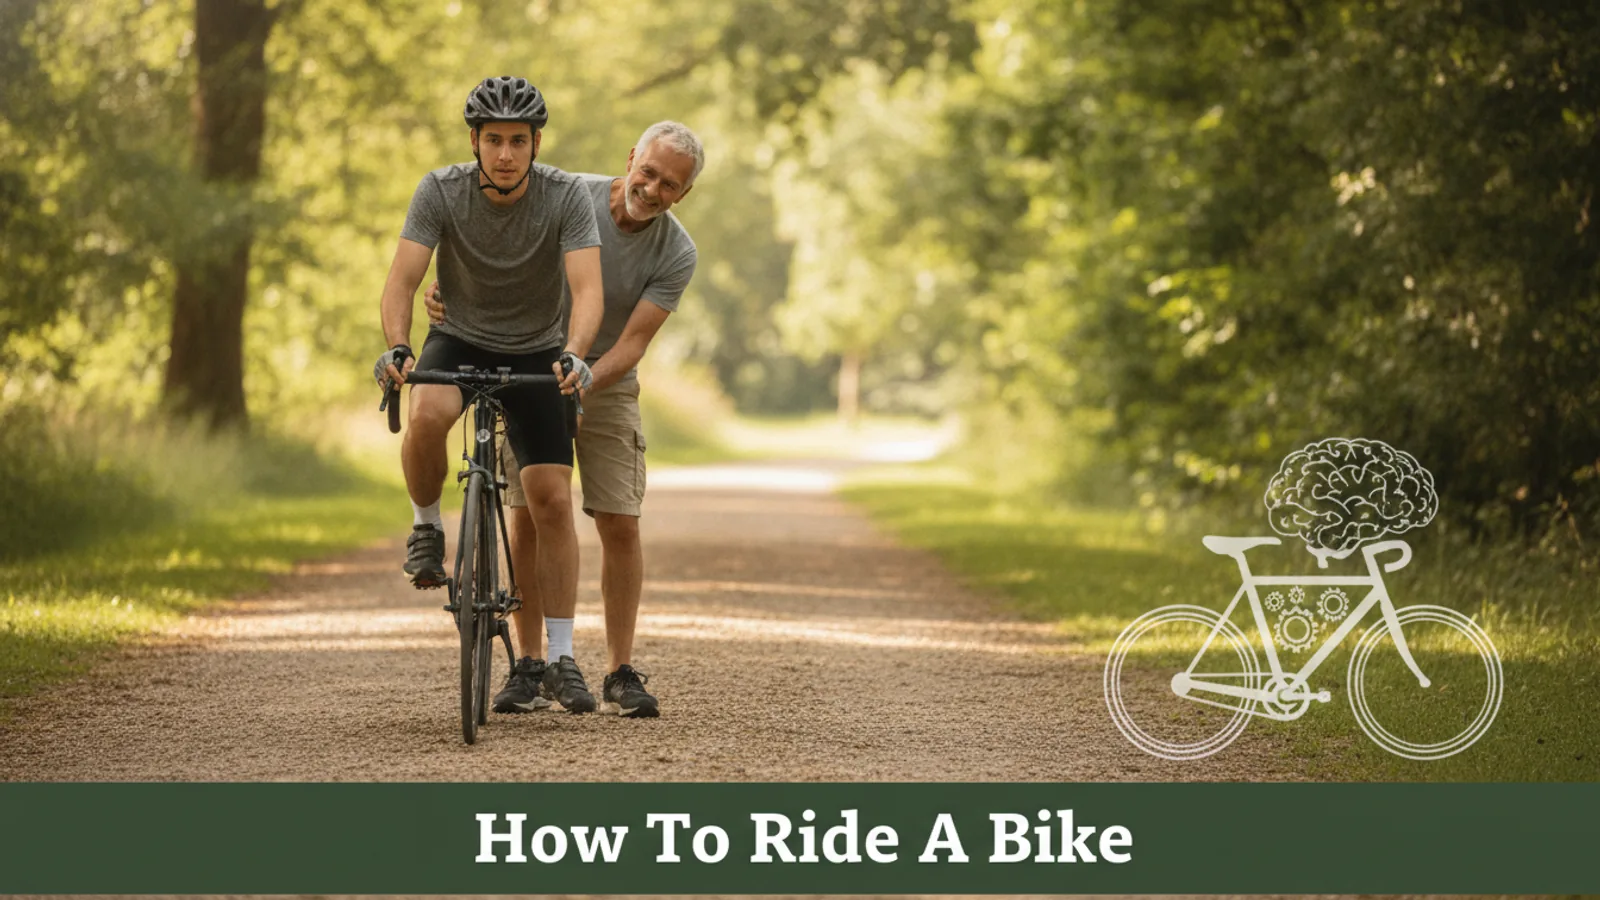
How To Ride A Bike
Learning to ride a bike is a rewarding milestone that unlocks freedom and fitness at any age. This guide breaks down the process into simple, manageable stages, focusing on the most crucial skill: balance. We'll use the proven "balance bike" method, even with a standard bicycle, to build your confidence safely. Forget stabilisers and scraped knees; this guide helps you understand the physics of cycling and get you pedalling smoothly in just a few hours.
Fast Answer
- Key principle: Learn balance first, without pedals.
- Why it works: Pedalling is easy once you can glide and steer. By removing the distraction of pedals, you can focus entirely on feeling the bike's balance point.
- Best location: A large, flat, smooth, and empty area like a tennis court or a quiet car park.
Before You Start
Proper preparation is the key to a smooth and successful learning experience. Taking a few minutes to get your equipment and environment right will make the process much safer and more enjoyable. You're not just learning to pedal; you're learning to control a vehicle, and a good setup makes all the difference.
What You Need
- A suitable bicycle: The most important factor is size. When seated, you should be able to place both feet flat on the ground with a slight bend in your knees. If you can only reach on tiptoes, the bike is too big for learning. It doesn't need to be fancy; a simple bike without gears is often best to start.
- A helmet: This is non-negotiable. Ensure it fits snugly, sitting level on your head and not tilting back. The straps should form a 'V' shape around your ears.
- A 15mm spanner or pedal wrench: Most bike pedals can be removed with a standard 15mm spanner. Check your specific bike, as some may use an Allen key.
- Comfortable clothing and closed-toe shoes: Avoid loose trousers that could get caught in the chain. Trainers are ideal.
- A safe, open space: Find a large, flat area with a smooth surface, like a deserted car park, a netball or tennis court, or a very gentle, wide grassy slope. Avoid traffic, pedestrians, and obstacles.
Safety, Timing, and Context Checks
- Check the brakes: Before you start, walk alongside the bike and squeeze the brake levers. The bike should come to a firm stop. Identify which lever controls the front brake and which controls the rear.
- Tyre pressure: Ensure the tyres are firm to the touch. Soft tyres make balancing and pedalling much harder.
- Choose the right time: Plan your session for a time with good daylight and when your chosen location is likely to be empty. This minimises distractions and pressure.
- Bring a friend (optional): Having someone for support can be encouraging, but make sure they understand the plan. They should not hold onto the saddle or handlebars, as this interferes with you learning to balance. Their job is to offer encouragement from the sidelines.
Step-by-Step Instructions
Follow these steps in order. Don't rush to the next one until you feel comfortable and confident with the current one. The goal is progress, not speed.
Set Up Your Bike for Learning
The first step is to transform your pedal bike into a balance bike. This is the secret to learning quickly. By removing the pedals, you eliminate the biggest distraction and allow your brain to focus on the one thing that matters: balance. Use your 15mm spanner to remove both pedals. Remember the golden rule: the right-side pedal unscrews anti-clockwise (like a normal screw), but the left-side pedal is reverse-threaded and unscrews clockwise. Place them somewhere safe.
Next, adjust the saddle. Loosen the clamp under the seat and lower it until you can sit comfortably with both feet placed firmly flat on the ground. You should have a slight bend in your knees. This low centre of gravity and easy access to the ground gives you complete control.
Practise Scooting and Gliding
Now, sit on the bike. Get a feel for it. Hold the handlebars with a relaxed grip. Your primary goal here is to get used to moving and balancing. Start by simply walking the bike forward while seated. Once comfortable, begin to push off with your feet, taking longer and longer strides. Think of it like a scooter.
The key is to look ahead, not down at your feet or the front wheel. Pick a target in the distance and focus on it. As you pick up a little speed, try lifting both feet off the ground for a second or two. This is gliding. The bike will want to stay upright as long as it's moving forward. Your job is to simply let it. Aim to glide for 3-5 seconds consistently before moving on.
Learn to Steer While Gliding
Balance and steering are two sides of the same coin. Once you can glide in a straight line, it's time to introduce gentle turns. While gliding, try to steer the bike in a wide arc. You will notice that small, gentle inputs on the handlebars have a big effect. The bike goes where you look, so turn your head and look where you want to go, and your arms will naturally follow.
Practise making wide circles and 'S' shapes. This teaches you how to lean the bike slightly into a turn and use the handlebars for fine control. You are building the muscle memory required to subconsciously correct your balance. Keep your arms relaxed and avoid any sudden, jerky movements.
Re-attach One Pedal
When you can confidently glide and steer for several metres at a time, you are ready for a pedal. Choose one pedal (it doesn't matter which, but most people find their dominant foot's side easier) and screw it back onto the crank arm. Remember the threading: right-side is clockwise to tighten, left-side is anti-clockwise. Tighten it firmly.
Now, repeat the scooting exercise. Push off with your free foot, and once you are gliding, place your other foot onto the pedal. Don't try to push it around yet. Just get used to the feeling of having one foot on a pedal while you are balancing and gliding. This bridges the gap between gliding and pedalling.
Attach the Second Pedal and Start Pedalling
Now for the main event. Attach the second pedal. Before you get on, raise the saddle slightly. A good starting height is where you can just touch the ground with the balls of your feet. This gives your legs enough room to make a full pedal stroke.
To start, stand next to the bike and hold the brakes. Position one pedal so it is pointing forwards and up, at about the 2 o'clock position. This is your 'power pedal'. Place your foot on it. Put your other foot on the ground. To set off, release the brakes, push down hard on the power pedal, and simultaneously push off the ground with your other foot. This initial burst of momentum is critical. As the bike moves forward, lift your second foot onto the other pedal and begin to make smooth, circular motions. Look ahead, and keep pedalling!
Practise Controlled Braking
Riding isn't just about going; it's also about stopping safely. Now that you're pedalling, you need to master the brakes. As you ride in a straight line, gently and progressively squeeze both brake levers at the same time. Feel how the bike slows down. Your body weight will shift forward, so brace yourself slightly.
Avoid grabbing a fistful of brake, especially the front one, as this can cause the bike to stop too abruptly. Practise bringing the bike to a smooth, controlled stop, putting one foot down on the ground as you come to a halt. Repeat this until stopping feels as natural as starting.
Quick Reference
| Situation | Do this | Why |
|---|---|---|
| Feeling wobbly or losing balance | Look far ahead and pedal a little faster | The bike is more stable at speed, and your body automatically corrects balance when you look at your destination. |
| Starting from a standstill | Set one pedal to the 2 o'clock 'power position' | This angle provides the maximum leverage for your first push, creating the momentum needed to get balanced. |
| Stopping the bike | Gently squeeze both brake levers simultaneously | Using both brakes distributes the stopping force evenly, preventing skids and providing stable, controlled deceleration. |
| Going around a corner | Look where you want to go, not at the obstacle | This principle, known as target fixation, means your hands and body will instinctively steer the bike towards your line of sight. |
Common Problems When You Learn To Ride A Bike
Everyone hits a few bumps in the road when learning. These are the most common issues and how to solve them.
- Problem: I keep looking down at my feet.
This is the number one issue for learners. It feels instinctive, but it's the fastest way to lose balance. Your bike follows your gaze.
Solution: Make a conscious game of it. Pick a tree, a lamppost, or a sign in the distance and stare at it. Do not let your eyes wander down. It will feel strange at first, but after a few minutes, you'll feel how it anchors your balance. - Problem: The steering feels incredibly wobbly.
This is usually caused by tension. A nervous rider will have a death grip on the handlebars, translating every tiny twitch from their arms into the steering.
Solution: Relax! Shake out your arms. Bend your elbows slightly and try to hold the grips as lightly as you can while still maintaining control. A relaxed upper body allows the bike to self-correct small wobbles. - Problem: I can't get going from a stop.
A wobbly or failed start is frustrating and usually comes down to not having enough initial momentum.
Solution: Focus on the "power pedal" technique described in Step 5. Ensure the pedal is high enough (2 o'clock) and give it one single, strong push down. That single push should be powerful enough to get you moving and balanced before you even think about the second pedal stroke. - Problem: I fall over when I try to stop.
This happens when you slow down too much before you're ready to put a foot down, losing all momentum and balance at the last second.
Solution: Practise braking with intent. As you apply the brakes, decide which foot you're going to put down and unclip or get ready. Aim to place your foot down firmly at the exact moment the bike comes to a complete stop, not before or after.
Advanced Tips for Riding A Bike
Once you've mastered the basics of starting, stopping, and turning, you can start to refine your skills.
- Using Gears (If You Have Them): Think of gears like this: lower numbers are "easy" gears for climbing hills, and higher numbers are "hard" gears for going fast on flat ground. Practise changing gears on a flat, straight road. Click the shifter one gear at a time while you are pedalling. You'll feel a slight change in resistance. The key is to always be pedalling when you change gear.
- Signalling Your Intentions: When you're ready to ride where others can see you, it's vital to communicate. The standard UK hand signals are: extend your left arm straight out to indicate a left turn, your right arm straight out for a right turn. Practise riding in a straight line with one hand on the handlebars before trying this.
- Looking Behind You: A critical safety skill is the "shoulder check" – glancing over your shoulder to check for traffic without swerving. Practise this in your safe area. Try to turn your head quickly without turning the handlebars. It takes practice to disconnect your head movement from your arm movement.
- Standing Up on the Pedals: For short bursts of power, like starting on a hill, you can stand up. As you pedal, rise out of the saddle, letting the bike rock slightly from side to side beneath you in rhythm with your pedal strokes. This uses your body weight to help you pedal.
How To Ride A Bike FAQ
How long does it really take to learn to ride a bike?
Am I too old to learn?
What is the best type of bike to learn on?
Do I really need to wear a helmet?
What happens if I fall?
Final Checklist for Riding a Bike
You've mastered the basics and you're ready to practise. Before every ride, run through this quick mental checklist to ensure you're safe and prepared.
- Helmet On: Is your helmet fitted correctly and buckled up?
- Bike Check (The 'M' Check): Quickly trace an 'M' shape over your bike. Start at the rear wheel (tyre pressure, brake), go up to the saddle (is it secure?), down to the pedals and chain (are they clear?), up to the handlebars (are they tight?), and down to the front wheel (tyre pressure, brake). This takes 30 seconds and catches most common mechanical issues.
- Saddle Height: Is the saddle at a comfortable height for efficient pedalling (a slight bend in the knee at the bottom of the pedal stroke)?
- Location, Location, Location: Have you chosen a route or practice area that is appropriate for your current skill level? Avoid busy roads until you are completely confident in your ability to control the bike.
- Look Ahead: Remind yourself of the golden rule. Your destination is your focus, not your front wheel. Enjoy the ride!